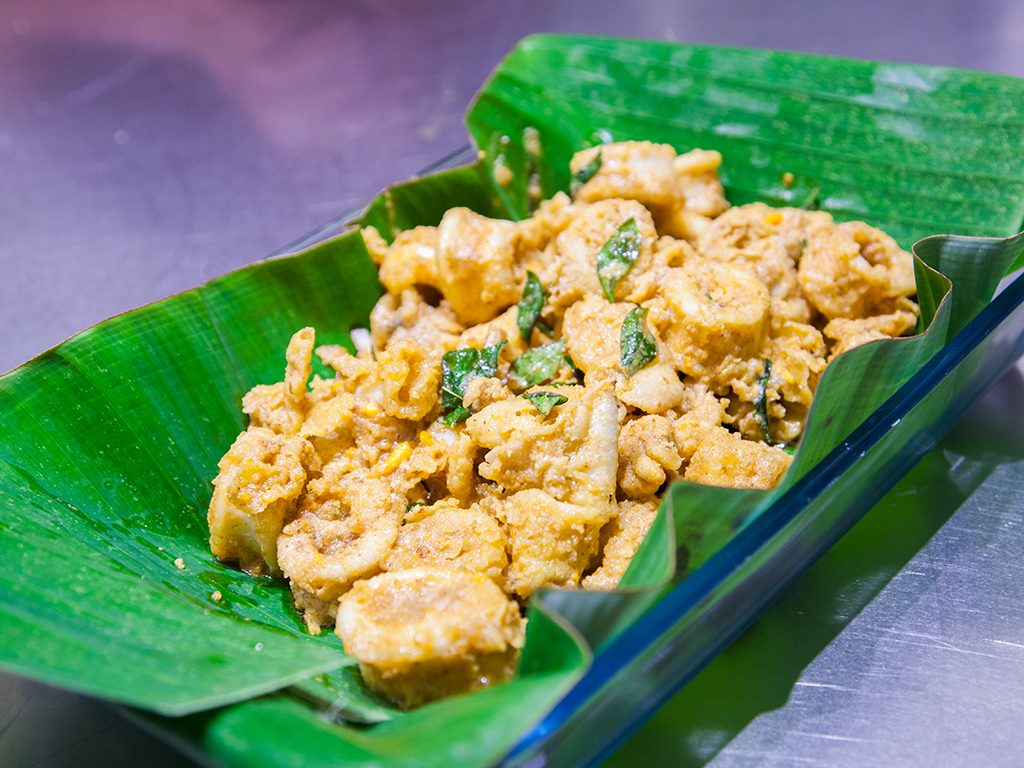
 Salted egg yolk squid – calamari coated in a golden salted egg yolk sauce
Seafood coated with salted egg yolk has been a popular dish at Chinese-style seafood restaurants throughout Malaysia. Be it crabs, prawns or squid, dry or moist batter, there’s just something about this rich, salty and sometimes just a little bit sweet sauce that keeps patrons coming back for more and unashamedly licking their fingers clean. Salted egg yolk squid, in particular, is a popular option for customers who don’t want to get their hands dirty and would rather not have to deal with crab or prawn shells. It’s 100% pure yumminess.
Despite its popularity, salted egg yolk squid is not commonly made at home, which is a shame considering how simple it actually is to put together. It also requires very uncomplicated ingredients. We’ve compiled a simple, tasty recipe for fans of this dish so you can try make it home. And for those who are gluten-conscious, the recipe below is also gluten-free! So bring out your wok. It’s time to get cooking.
Ingredients
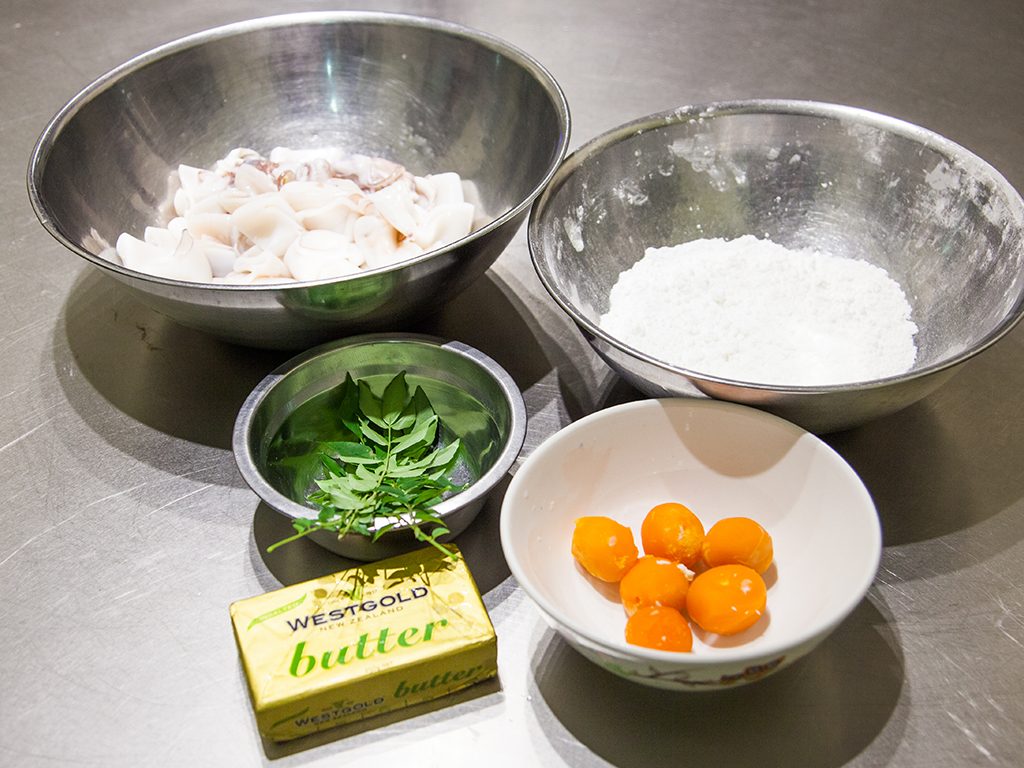
- 4kg squid, cleaned and sliced 1 to 1.5cm wide
- 1 cup potato starch
- 1 cup rice flour
- 6 stalks curry leaves
- 6 cooked salted duck egg yolks, chilled
- 125g unsalted butter, room temperature
- ¼ tsp salt
- 1 ½ cups cooking oil
Method: the squid
- Combine potato starch and rice flour into a dry batter. Mix.
- Heat and season your wok by wiping a thin layer of oil around it with a paper towel. You will know your wok is hot enough when the layer of oil has dried up and the wok seems to glow.
- Add cooking oil. If your wok is hot enough, the oil will be sufficiently hot in a few seconds. Otherwise, let it reach a temperature of 180°C to 200°C.
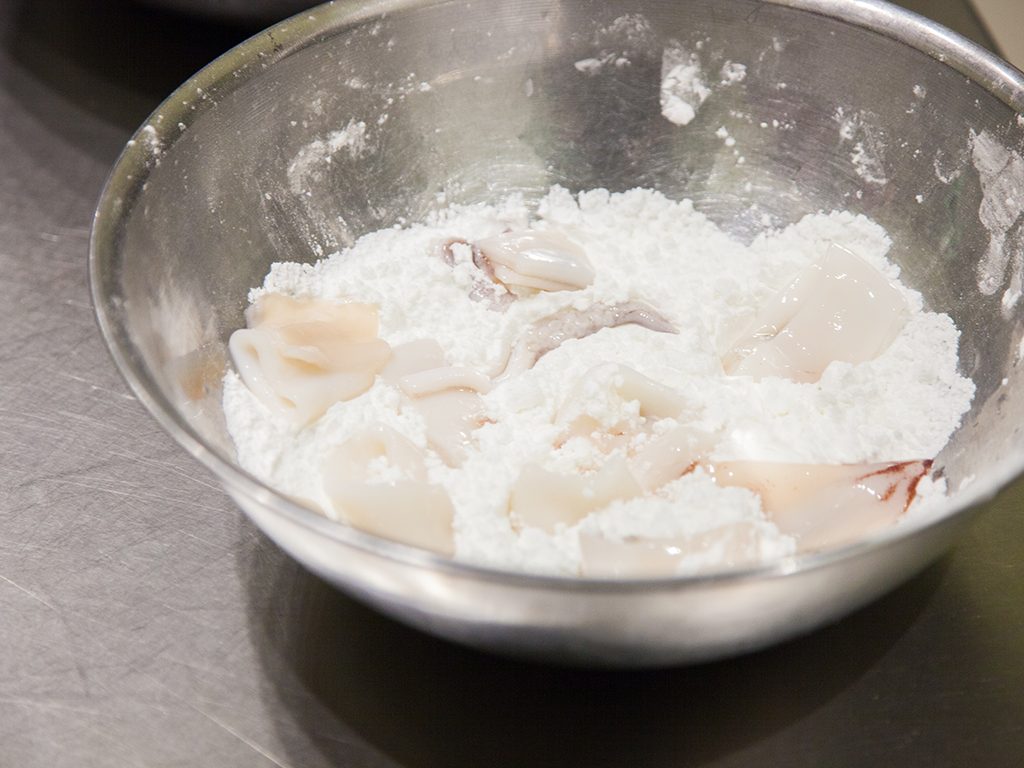
- Working in batches, add one or two handfuls of squid to the batter and cover them thoroughly with a thick, even, coating. Don’t forget to coat the inner rings of the squid.
- Add battered squid to the wok and fry until a light golden yellow, about 1 to 2 minutes.
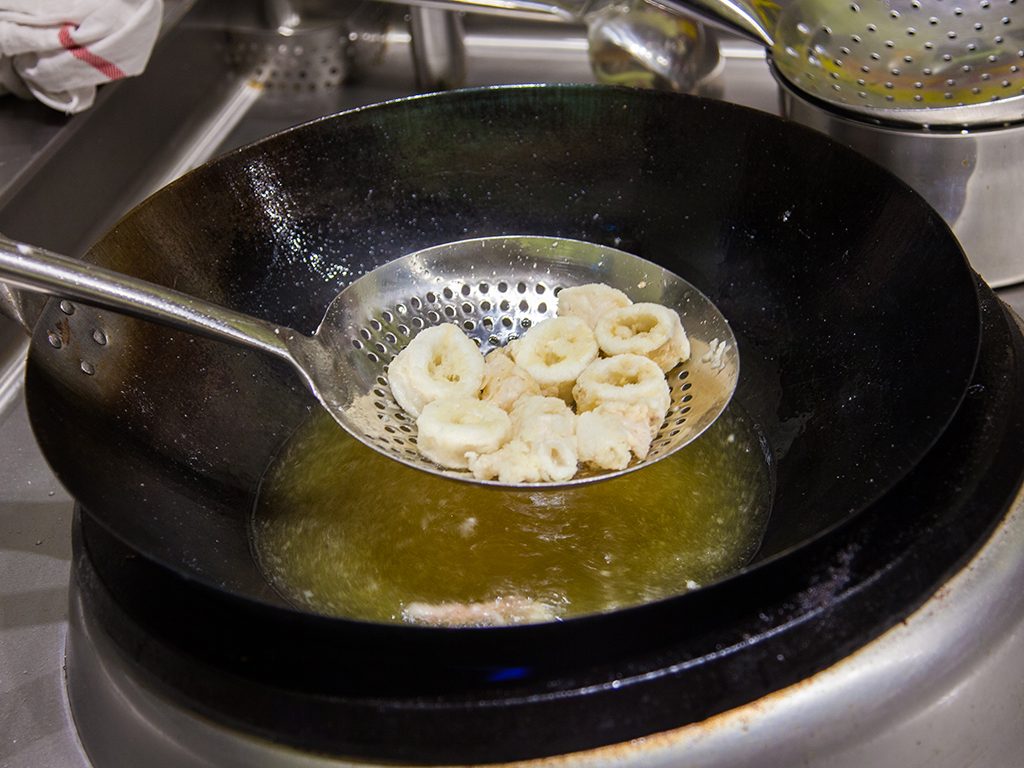
- Once the squid is cooked, remove them to a colander. Then, using a sift, remove all the fried leftover batter from the oil.
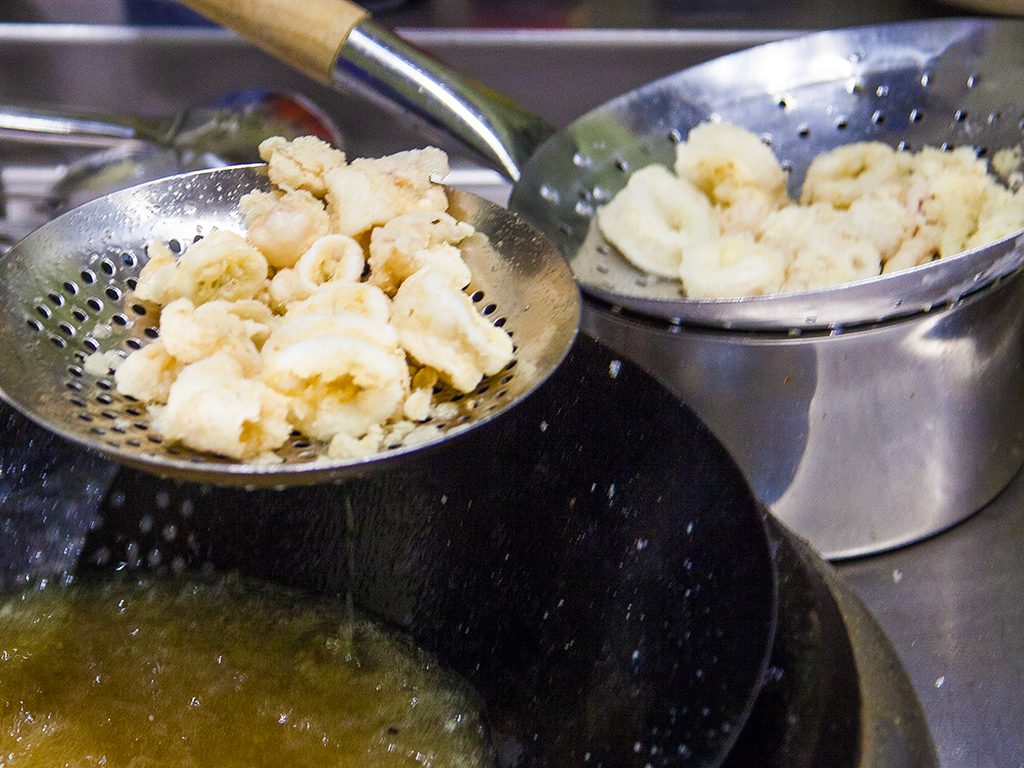
- Continue cooking the squid in batches until complete.
Method: the sauce
- Turn off the heat and remove all contents from the wok. Add in butter until it melts.
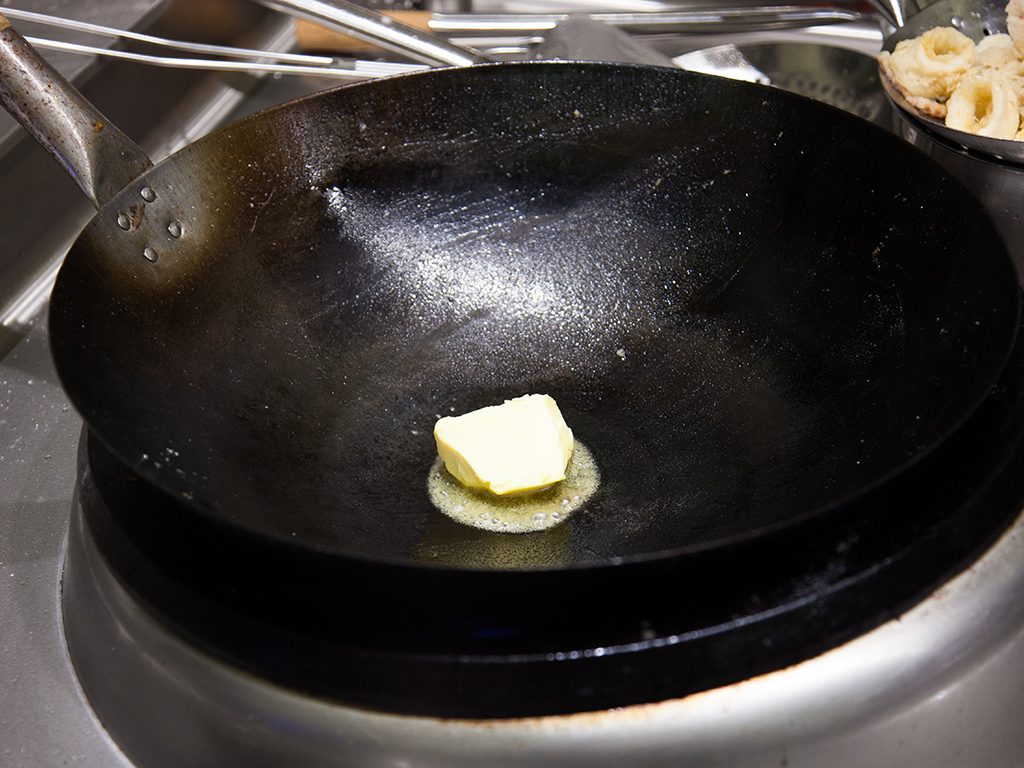
- When butter is almost melted through, turn the heat back up and fry, quickly adding in the curry leaves to flash fry.
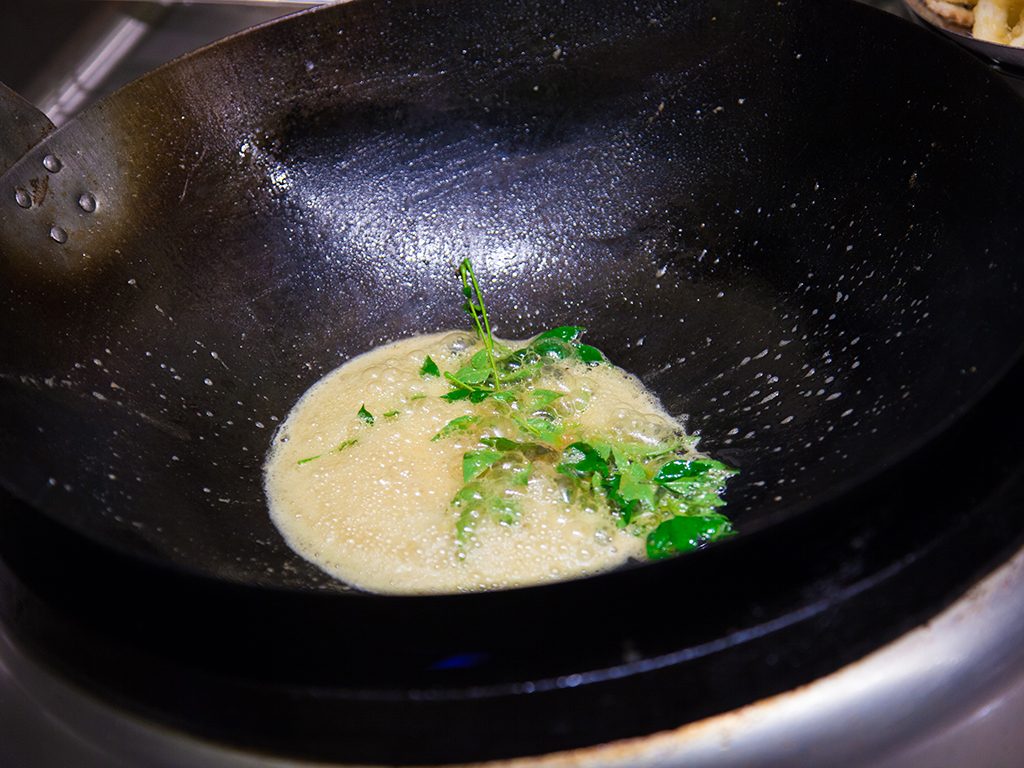
- When curry leaves are crispy, grate salted egg yolks into the wok.
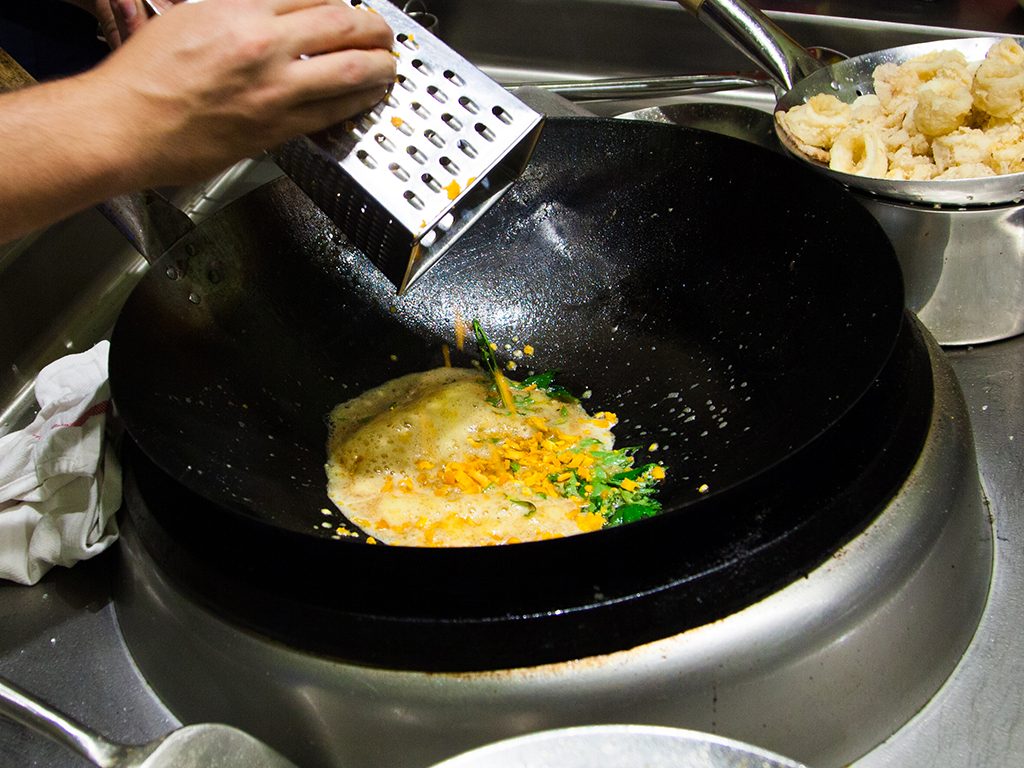
- Give it a stir to melt the yolk into the sauce. Use a whisk to help the yolks disintegrate. Add salt.
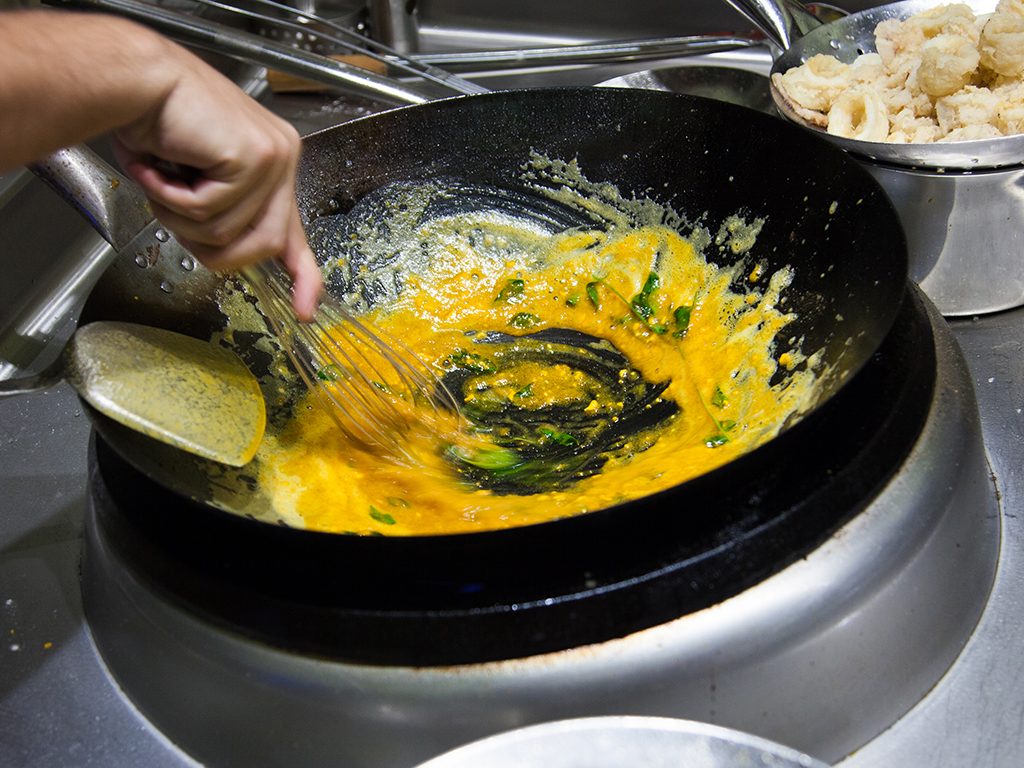
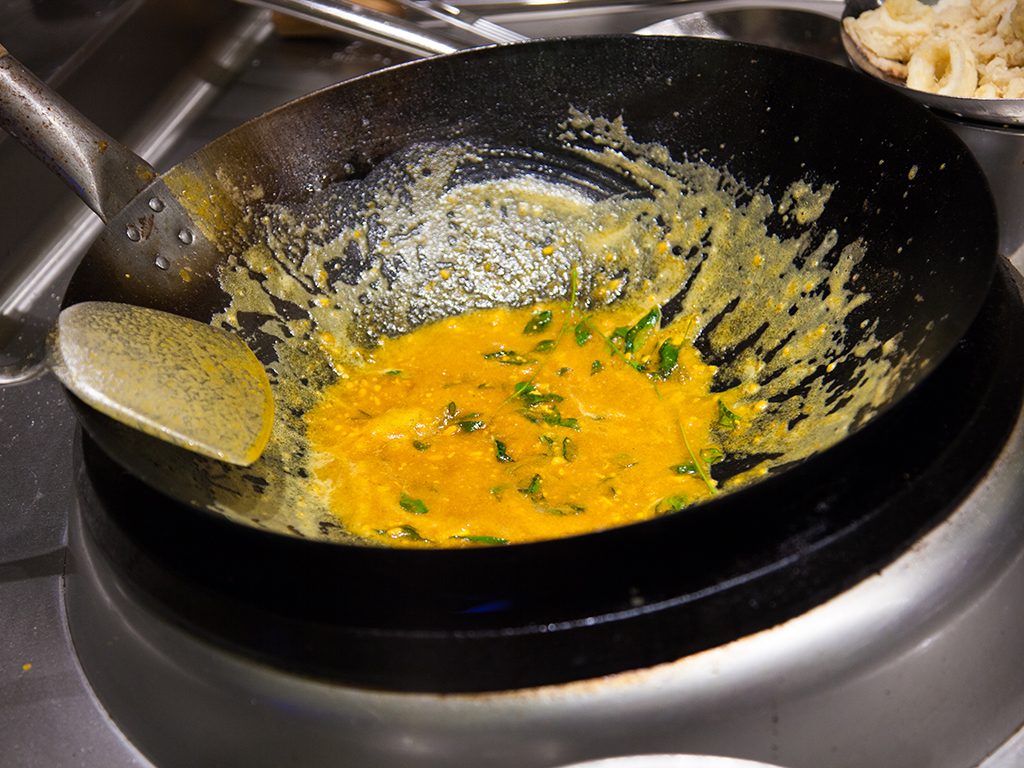
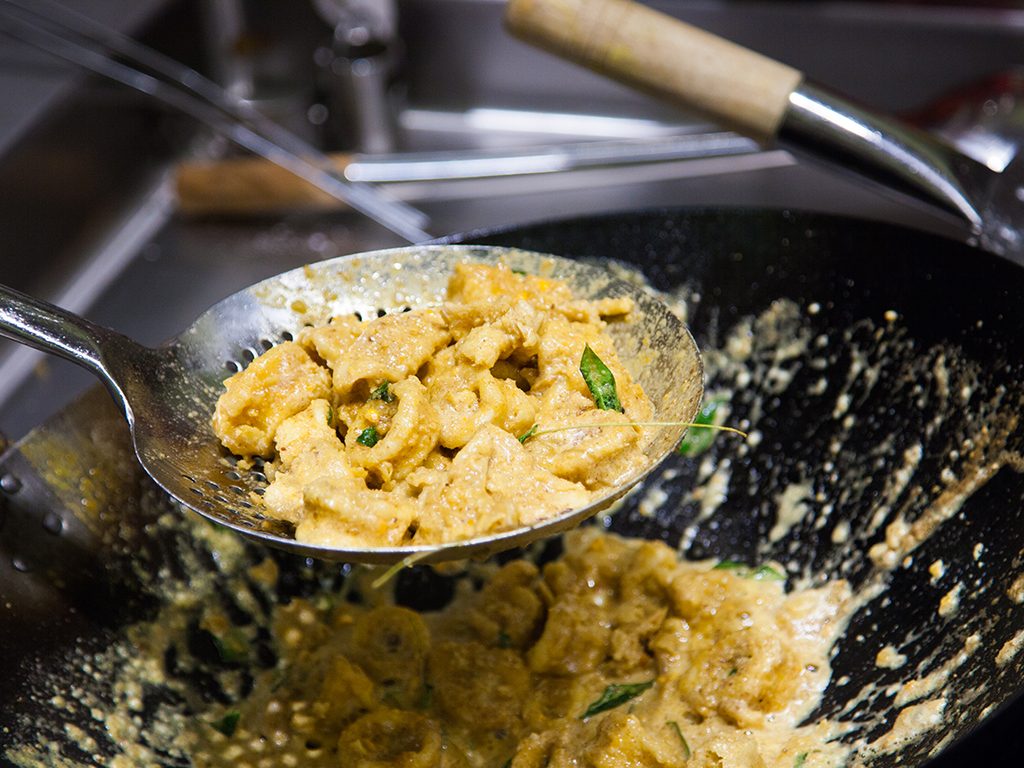
- Once the sauce is a beautiful golden brown, add fried squid back into the wok and give it a good mix. Toss to thoroughly coat the squid. You can also add in some fried batter for a little extra crunch.
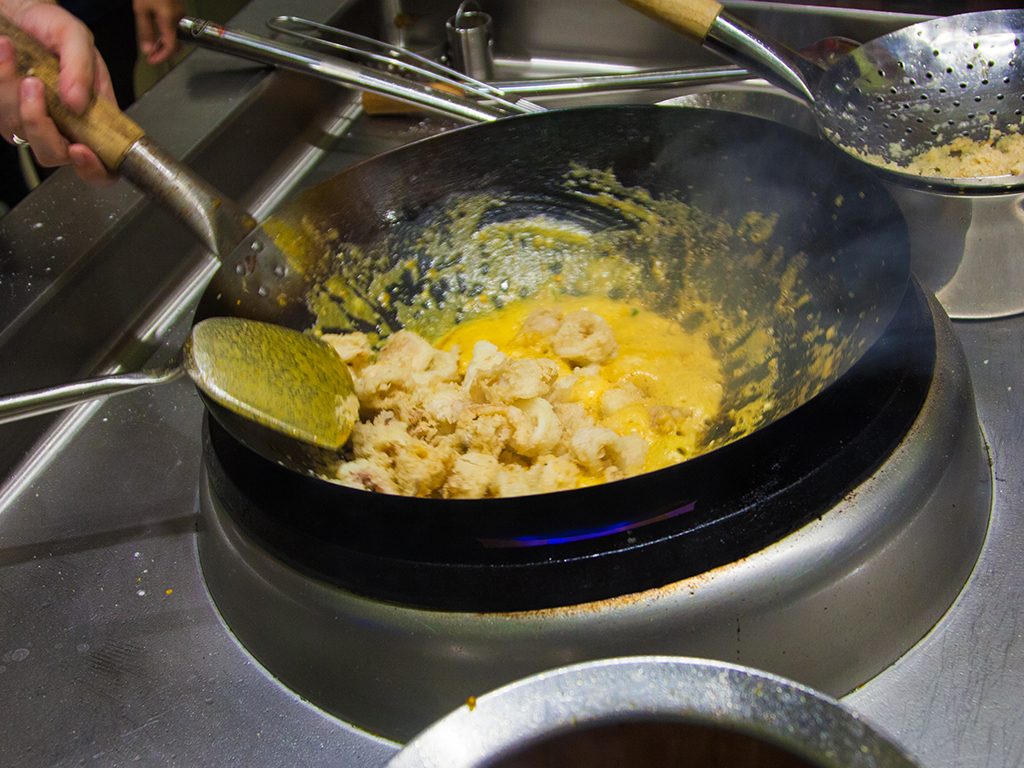
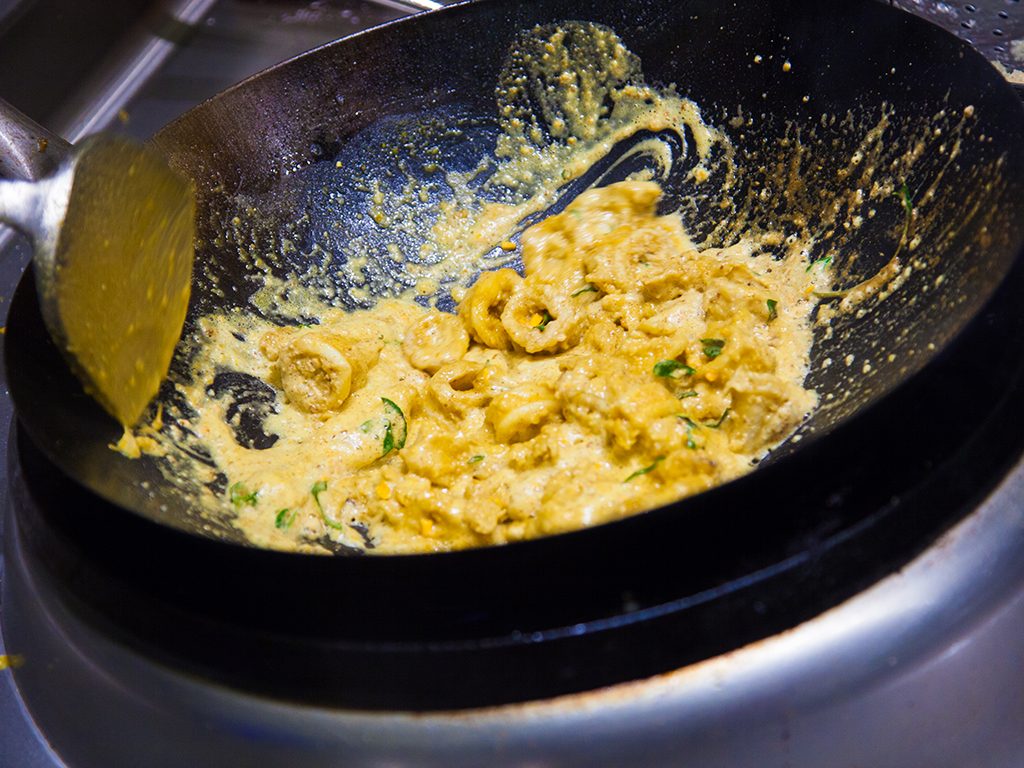
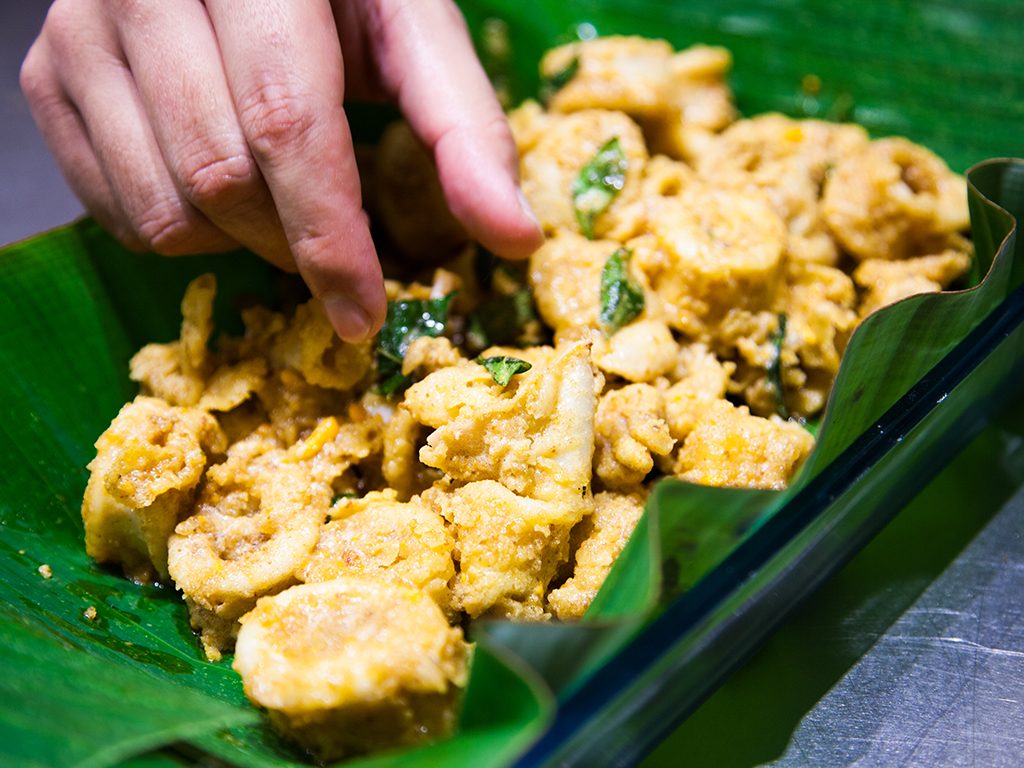
- Transfer the coated squid to a serving dish. Serve freshly cooked with a plate of steaming hot rice.
Extra tips
- Make your own salted eggs with this easy how-to!
- Don’t coat all the squid with batter at once, as you want to avoid the batter getting soggy from squid juices.
- It is very important to remove fried leftover batter from the wok in between frying your batches of squid. If you leave it in, the batter will continue to fry and burn, thus flavouring your oil and squid with a burnt taste.
- Avoid using salted butter as the yolk and salt will be enough. Don’t like it too salty? Skip the salt.
- Chilled egg yolks will be easier to grate and result in finer pieces.
- If you like your salted egg yolk squid a little sweeter, add ½ teaspoon sugar while making the sauce.
- Don’t pour all the sauce into the serving dish or the squid will become soggy too quickly. Serve it separately or reserve the sauce for eating it later with whatever you wish – more fried squid, some plain pasta, a freshly steamed bun or just over hot rice!
If you’re planning a meal, salted egg yolk squid goes great with other Chinese-style dishes including lettuce cooked in oyster sauce or garlic, plain fried omelette and a simple steamed fish. Avoid pairing it with other salty dishes as you’ll want this dish to shine. Show us how your salted egg yolk squid turned out by tagging us with #butterkicap. Enjoy!
